16oz Glass Can Wrap PNG: Size, Setup and Sell
You’ve finally got ten quiet minutes, a stack of blank 16oz glass cans, and a design idea that needs to turn into a finished product before the school run. Then you hit the snag: the file looks perfect on screen, but your printed wrap lands a bit short, the seam is obvious, or the colours shift on the glass.
That’s exactly where a well-prepped 16oz glass can wrap PNG earns its keep. When the file is built for the format, your job becomes simple: print, press, photograph, list – without faffing about with resizing every time.
What a 16oz glass can wrap PNG actually is
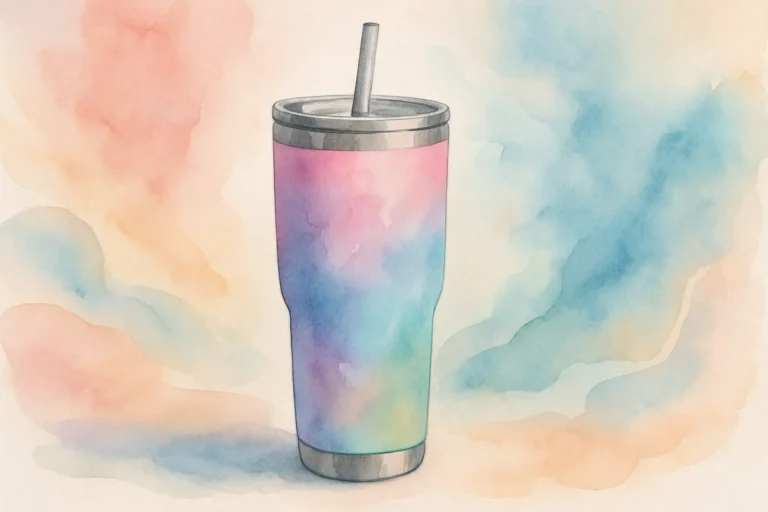
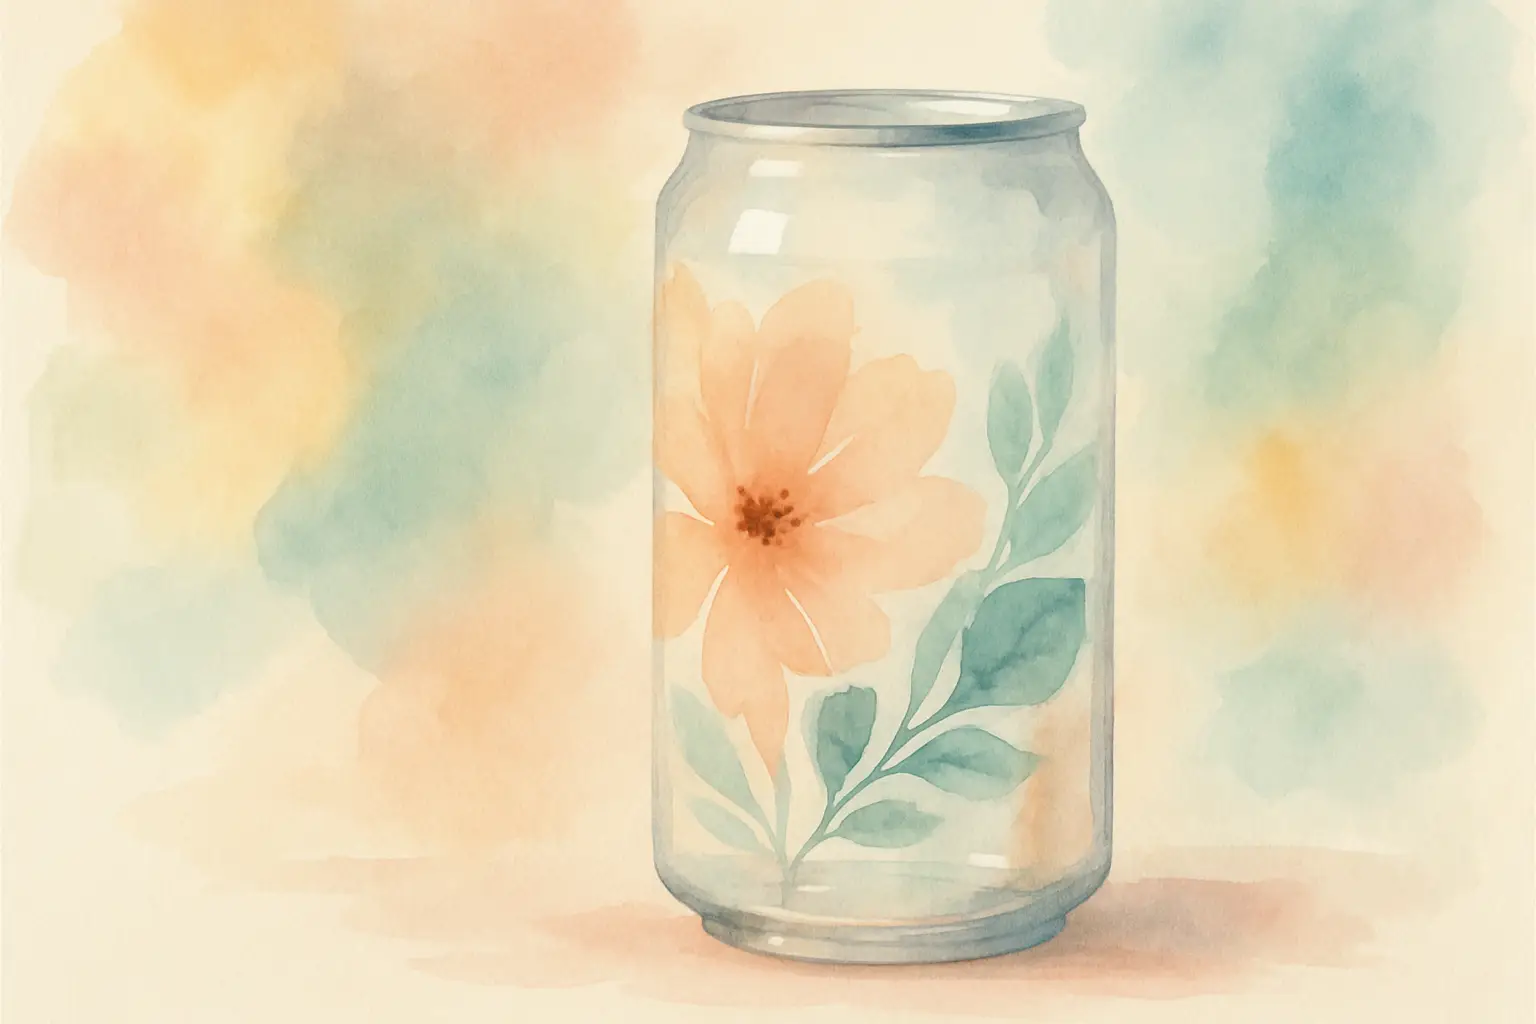
A 16oz glass can wrap PNG is a full-coverage design file made to wrap around a standard 16oz “beer can” style glass (often used for iced coffee, soft drinks, and seasonal gift sets). The “wrap” part matters because the artwork is designed as a wide rectangle that meets at the back seam, rather than sitting on one side like a decal.
PNG is the most common file type you’ll see for sublimation-style designs because it supports clean edges and transparent backgrounds. Even when the design fills the whole rectangle, the PNG format tends to behave nicely in common crafting software and printing workflows.
The practical benefit is speed. When the wrap is already composed as a complete layout (background, elements, text, spacing), you’re not building a tumbler design from scratch. You’re producing.
The sizing question: why “16oz” isn’t always one size
Here’s the calm truth: it depends. “16oz glass can” describes capacity, not a universal template. Different suppliers sell glasses that are slightly taller, slightly wider, or have a different straight-wall area where the wrap sits neatly.
Most wraps are built to fit the common style that’s roughly straight-sided through the main body, but you’ll still want to check three things before you commit to printing a dozen:
1) The printable area on your specific glass
Some glasses have a subtle taper near the bottom or a thicker base. If your design goes too low, it can warp visually when viewed from the front.
2) The seam allowance you prefer
Some makers like a tight butt seam (edge-to-edge). Others prefer a small overlap so there’s no sliver of glass showing. Your preference affects how wide you print.
3) Your press method
An oven method with shrink wrap behaves differently from a tumbler press or mug press attachment. Slight differences in pressure and heat distribution can change how “forgiving” the seam area is.
If you sell finished glass cans, it’s worth doing one deliberate test for each glass supplier you use. Once you’ve dialled in your sizing, you can repeat it with confidence.
DPI, resolution and why your print sometimes looks soft
If you’ve ever held a finished glass can up to the light and noticed the design isn’t as crisp as you wanted, you’re not imagining it.
For wraps, aim for print-ready artwork at 300 DPI at full size. That doesn’t mean you can’t print a smaller file bigger – your software will let you – but the design may look fuzzy, especially around fine script fonts or detailed clipart.
A good wrap file should look clean when you zoom in. If edges look jagged on screen, they’ll look worse once pressed. This matters for listings too, because customers zoom in on product photos, and crispness reads as “professional”.
Setting up your 16oz glass can wrap PNG to print correctly
Most of the problems people blame on “the printer” are actually setup issues. A calmer workflow is to set up one reliable print template and keep it.
Start by placing your PNG into your chosen software at the intended dimensions. Many makers use design space style software, Canva-style editors, or dedicated sublimation print programmes. Whatever you use, the key is to turn off any automatic scaling that “helps” by shrinking to fit.
Then check these practical points:
Mirror: yes or no?
For sublimation, you usually mirror before pressing so the design reads correctly on the glass. Some programmes and some printers handle mirroring differently, so decide where you mirror (in software or printer settings) and stick to one method. Doubling up is an easy mistake – you only notice after you’ve pressed a backwards quote.
Colour management: keep it consistent
You don’t need to become a colour scientist, but consistency is everything when you’re making items to sell. Use the same paper, the same printer settings, and the same press settings when possible. Changing one variable at a time is the quickest way to learn what actually improves your result.
Leave a tiny bit of “breathing room” at the seam
If your design has a heavy border or a precise geometric edge, the seam becomes more noticeable. Busy patterns, watercolour washes, or backgrounds with gentle texture tend to disguise tiny alignment differences better. That’s not a flaw – it’s smart design for real-world production.
Pressing on glass: what matters most
Glass can wraps can look absolutely stunning, but glass is less forgiving than polyester fabric. Even coverage is the goal.
If you’re using an oven and shrink wrap, apply the shrink evenly and pay attention to the seam area. Any wrinkles in the shrink film can show up as light patches or blurred spots in the print.
If you’re using a press attachment, pressure and alignment matter more than people expect. Too much pressure can cause ghosting or uneven transfer. Too little pressure can leave faded areas.
The other big factor is cooling. Let the glass cool in a controlled way so you don’t smudge the transfer while it’s still hot. Rushing this part is one of the easiest ways to turn a great print into a “nearly”.
Designing for products you can actually sell
A wrap that looks pretty on screen isn’t always the wrap that sells best once it’s on a glass.
If your customers buy glass cans as gifts, think in sets and occasions. Bookish wraps, teacher appreciation, faith messages, funny and sassy quotes, seasonal prints – these work because shoppers understand them instantly. If your customer has to stare at the design to work out what it is, it’s harder to sell.
Also think about how the wrap photographs. High contrast designs tend to pop in listing photos. Very pale designs can be beautiful in person but may need better lighting and editing to show up online.
And if you’re adding names, make sure your personalisation font stays readable at arm’s length. Delicate script can disappear against busy backgrounds.
Common mistakes (and the quick fixes)
If your seam is showing, you likely need a slightly wider print, or you need to wrap more tightly before pressing. If the design looks faded in one area, it’s often uneven pressure or a shrink wrap wrinkle. If you see a double image (ghosting), it usually means the paper shifted during pressing – secure it more firmly with heat tape and avoid bumping it while loading.
If colours look off, don’t panic and replace everything at once. Check whether you accidentally changed printer settings, switched paper brands, or printed using a different profile. One small setting change can make blacks go brown or reds go orange.
Building a calmer workflow for repeat orders
If you’re selling, repeatability is your best friend. The goal is to be able to produce the same quality again next week without having to re-learn your own process.
Keep a simple record of what works: glass supplier, printed size, whether you overlapped the seam, paper type, printer settings, and press time and temperature. It takes two minutes to jot down and saves hours later.
Once your settings are dialled in, a ready-to-use wrap library becomes a genuine business asset. You’re not just buying a design – you’re building a catalogue you can turn into finished products and listings quickly.
If you like shopping by exact format and size (so you’re not resizing everything), you’ll feel right at home browsing wraps and PNGs at That Digital Mum.
If you’re planning to build this into a proper product line rather than a one-off listing, the All Access Clipart and Tumbler Wrap Pass makes even more sense. Instead of buying individual designs every time you want to test a new niche or restock a bestseller, you can dip into a full library of ready-sized wraps and PNGs whenever you need them. It keeps your workflow streamlined, lowers your cost per design, and makes it much easier to respond quickly to trends, seasons, and repeat orders without redesigning from scratch each time.
Using wraps with commercial plans (without stress)
If you’re buying a 16oz glass can wrap PNG with the intention to sell finished glass cans, always read the licence. “Commercial use” can mean different things depending on the shop: sometimes it covers physical end products only, sometimes it allows small-business use with limits, and PLR is a separate category again.
The calm approach is to match the licence to the plan. If you’re making physical products, look for clear permission to sell finished items. If you’re building a digital shop, you’ll need terms that explicitly allow digital resale or repackaging (and those terms should spell out what’s allowed, like whether you can add your own branding or combine into bundles).
Having that clarity up front stops the late-night worry of “Am I allowed to sell this?” and keeps your business tidy.
A closing thought
The best 16oz glass can wrap PNG isn’t the one with the most elements or the fanciest fonts – it’s the one that prints cleanly, presses predictably, and helps you keep showing up for your customers even when life is busy.