Unlock Your Creativity: A Beginner’s Guide to Creating AI Clipart with Midjourney Art Prompts
Embracing AI in Digital Art
Hey friend, let’s talk about something super exciting—Midjourney Art! Seriously, if you haven’t hopped on this AI art train yet, you’re missing out. Whether you’re just starting to explore digital art or you’re already deep into creative projects, Midjourney is like the best cheat code to bring your wildest ideas to life.
Picture this: you type out a few words, maybe something like “dreamy watercolor florals” or “whimsical hand-drawn animals,” and boom—Midjourney does its magic. It’s like having a creative buddy who always delivers (and never gets tired). I’m obsessed, and once you dive in, you’ll see why.
This post may contain affiliate links, meaning I could earn a small commission at no extra cost to you. For more details, please check out my full disclosure policy.
What’s the Deal with Midjourney?
Okay, so Midjourney is this amazing AI tool that takes your text prompts and turns them into gorgeous digital art. Think of it as your go-to for creating clipart, illustrations, or whatever artsy thing your heart desires. Whether you’re into soft watercolors, bright digital designs, or even vintage vibes, it’ll nail your vision.
What makes it even cooler? You don’t need to be a tech wizard to use it. The platform is super beginner-friendly, and they’ve even rolled out a web version so you don’t have to mess around with Discord if that’s too much hassle.
Let’s Get You Started
First things first, head to the Midjourney website and sign up. It’s quick and easy—no headaches, I promise. Once you’re in, take a minute to poke around the dashboard. This is where all the fun happens, so get comfy with it.
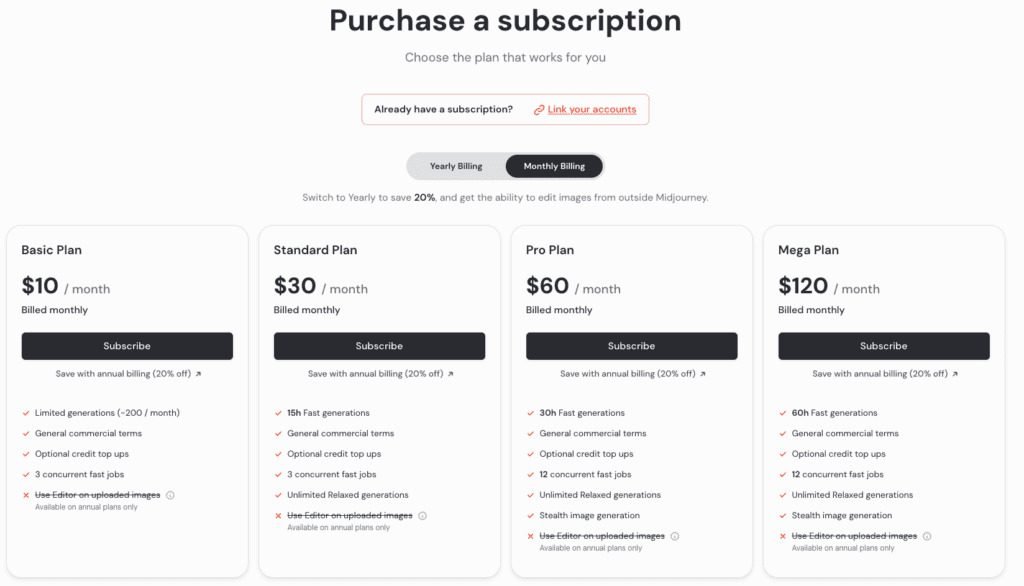
Now, let’s talk plans. Midjourney isn’t free, but it’s worth every penny. If you’re just dipping your toes in, the $10/month plan is perfect for experimenting without breaking the bank. Trust me, once you see what you can create, you’ll be hooked.
And don’t skip the community section! It’s full of inspo and tips from other creatives. Plus, it’s nice to feel like you’re part of a little artsy club.
Once you’re in, take a moment to explore the dashboard. It’s your creative playground where all the magic happens.
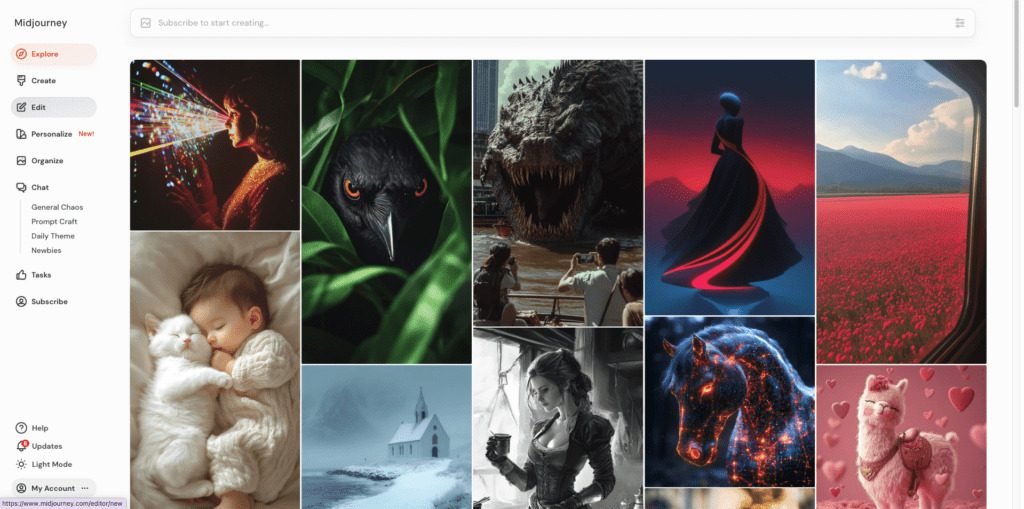
Don’t worry if you’re feeling a bit overwhelmed at first. Midjourney’s user-friendly interface is designed with beginners in mind, making it easy to navigate and discover all the cool features it offers. You can customize your settings and explore different tools to suit your artistic needs.
One handy tip: make sure to familiarize yourself with the community guidelines and resources available on the platform. Midjourney has a vibrant community of artists who love sharing their creations and tips. It’s a great place to connect with like-minded creatives and get inspired by their work. Check out the explore section to see what others have been creating!
Now that your account is all set up, you’re ready to dive into the exciting world of AI-generated art. In the next section, we’ll explore how to craft those all-important art prompts that will bring your creative visions to life.
Cracking the Code: Midjourney Art Prompts
Alright, here’s where the real magic happens—your prompts. Think of these as your instructions for the AI. The clearer and more specific you are, the better your results. For example, instead of saying “flowers,” try “dusty pink watercolor florals with gold accents.” See the difference?
A few tips to level up your prompts:
- Be Specific: Mention colors, styles, and even vibes. Want a soft, dreamy look? Say it!
- Play with Aspect Ratios: Need a design for Pinterest or a square Instagram post? Use something like
--ar 2:3to size it perfectly. - Highlight Key Details: Use “::” to tell the AI what’s most important, like “pastel colors::2” to emphasize the palette.
Oh, and don’t be afraid to run the same prompt a few times. Each result will be a little different, and sometimes the “oops” versions are even better than what you imagined.
Crafting prompts is an art, and with practice, you’ll discover the nuances that work best for your creative vision. Check out this midjourney guide for more info. In the next section, we’ll explore different art styles you can experiment with using Midjourney.
Explore All the Styles
Midjourney Art is a treasure chest of styles, and experimenting is half the fun. Here are a few to try:
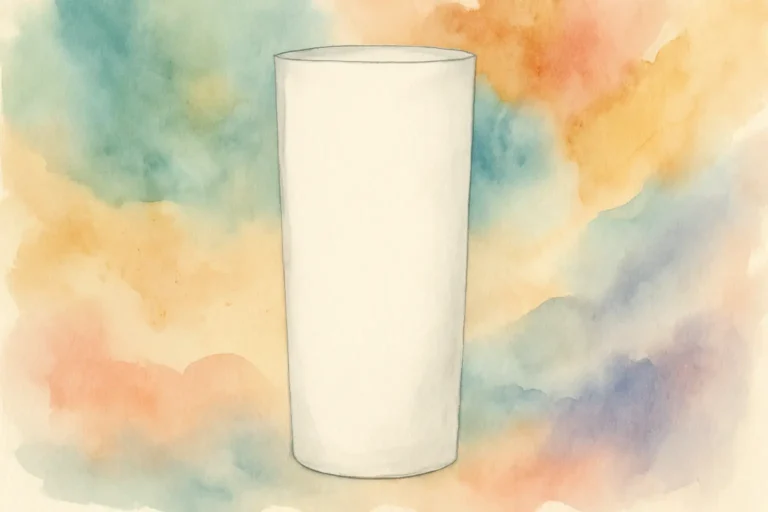
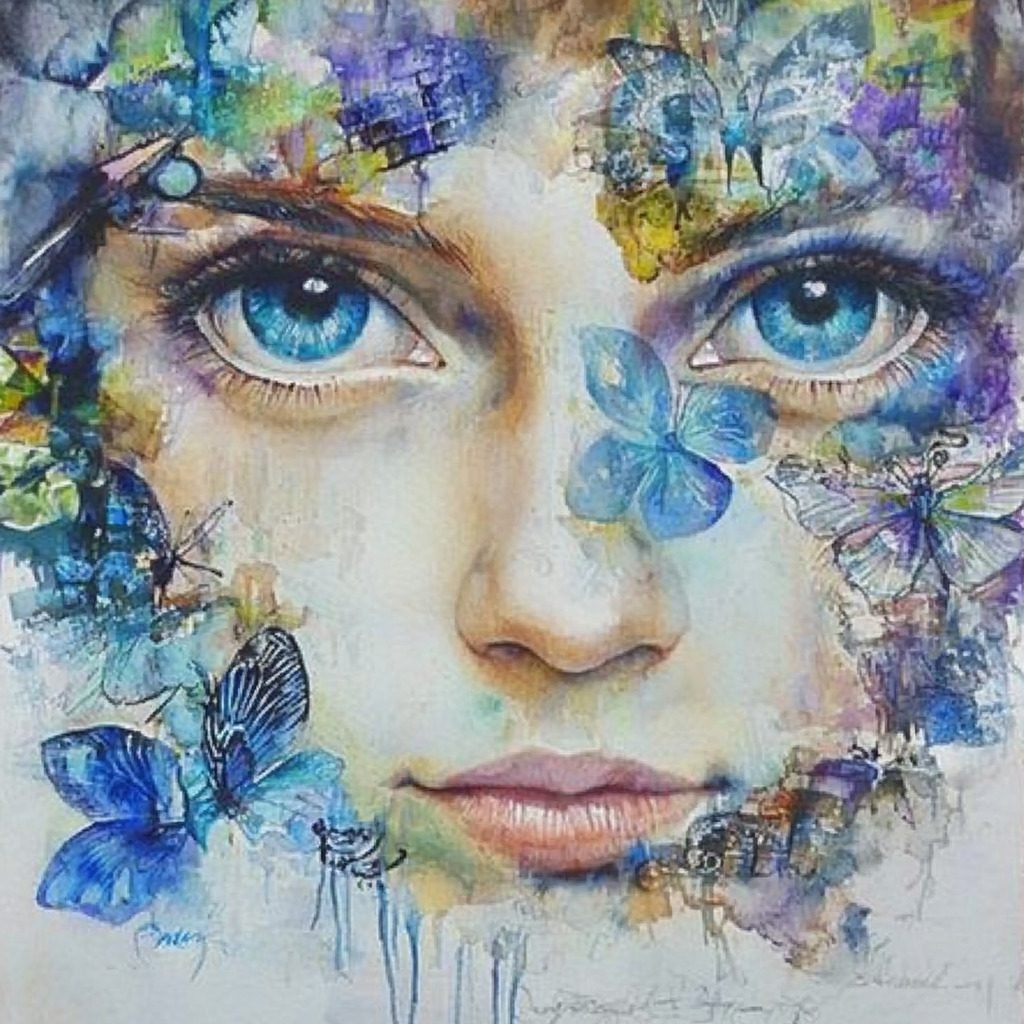
- Watercolor: Perfect for florals, dreamy landscapes, or anything soft and elegant. Version 5.2 is best for these!
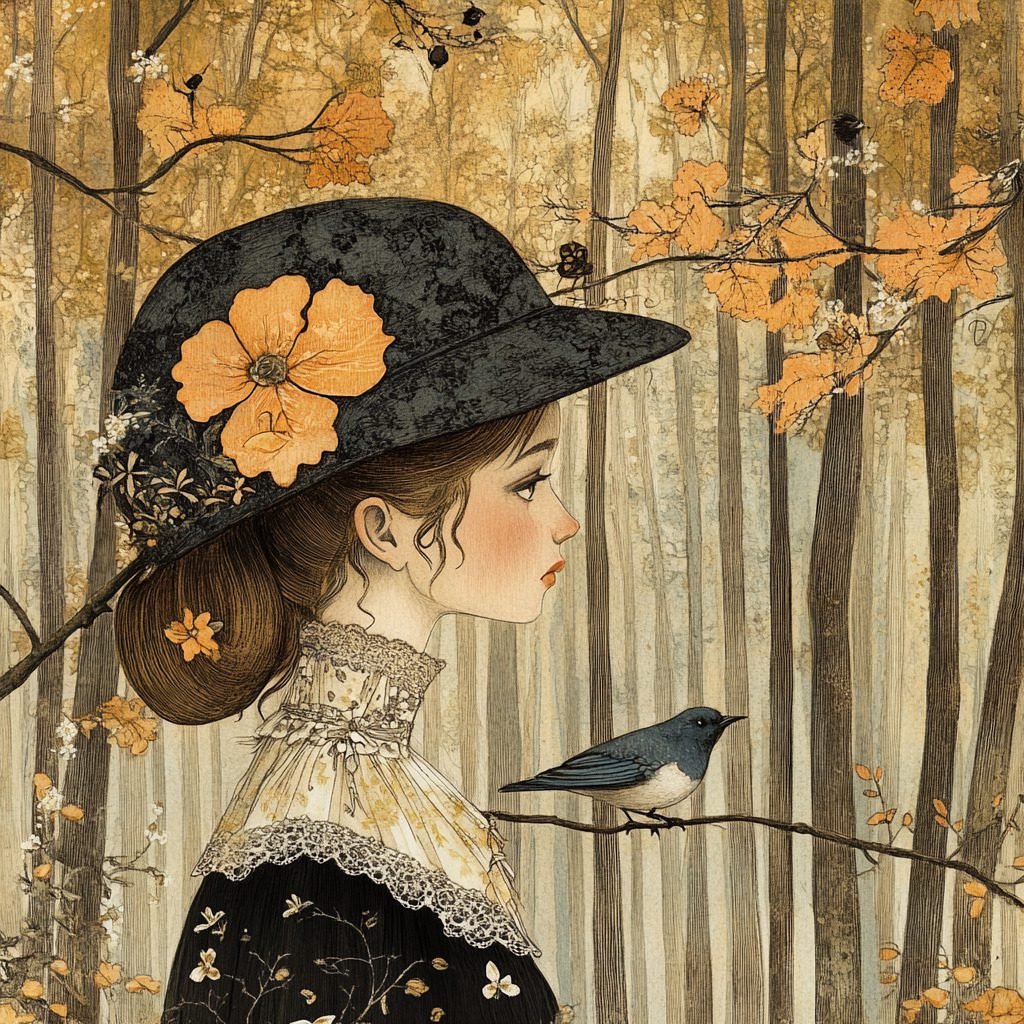
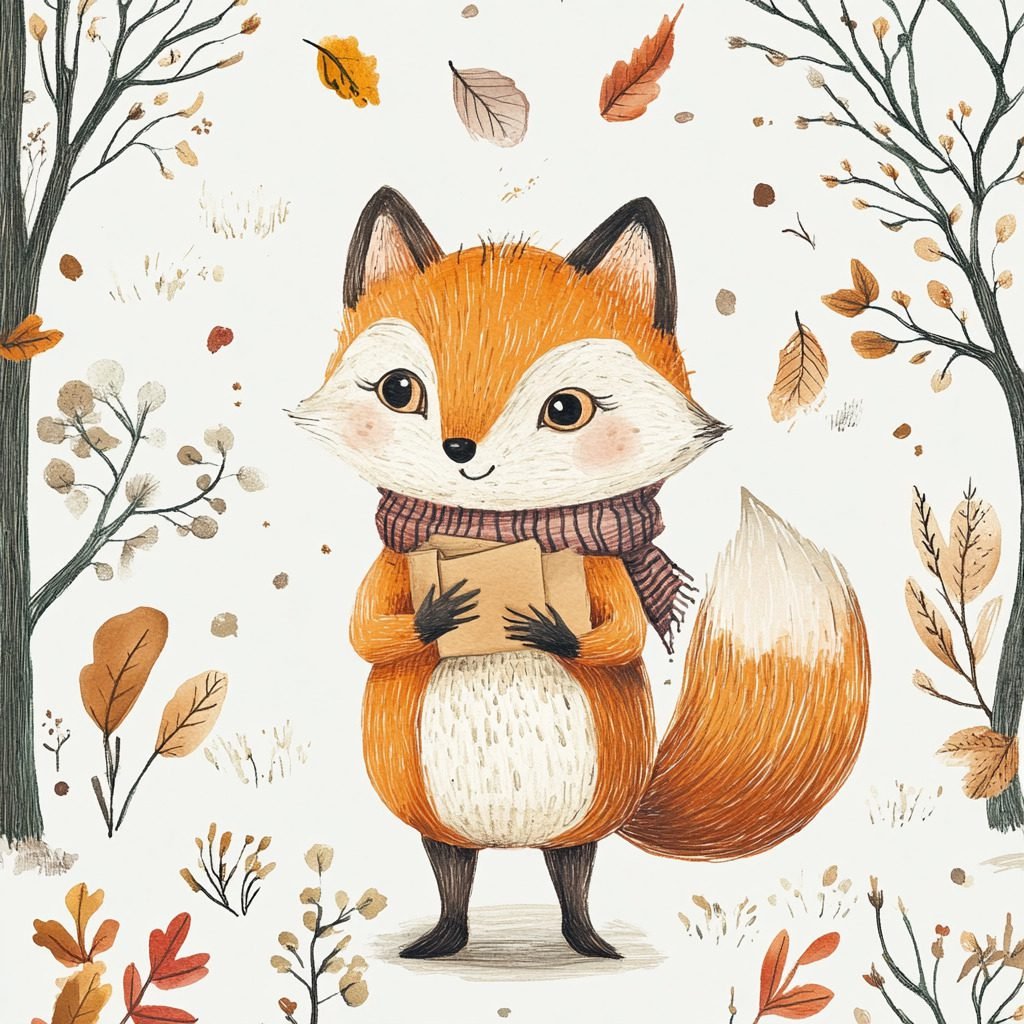
- Hand-Drawn: Want that organic sketchy vibe? Just add “hand-drawn” to your prompt. The current version (6.1 at time of writing) creates the cutest hand drawn childrens illustrations.
- Vintage: Go for muted tones and delicate details for a timeless look. Think Rococo and Grand Millenial, hot trends right now!
- Kawaii: Think cute characters, pastel palettes, and all the adorable vibes. Kawaii and Chibi styles remain super popular, especially in the clipart world.
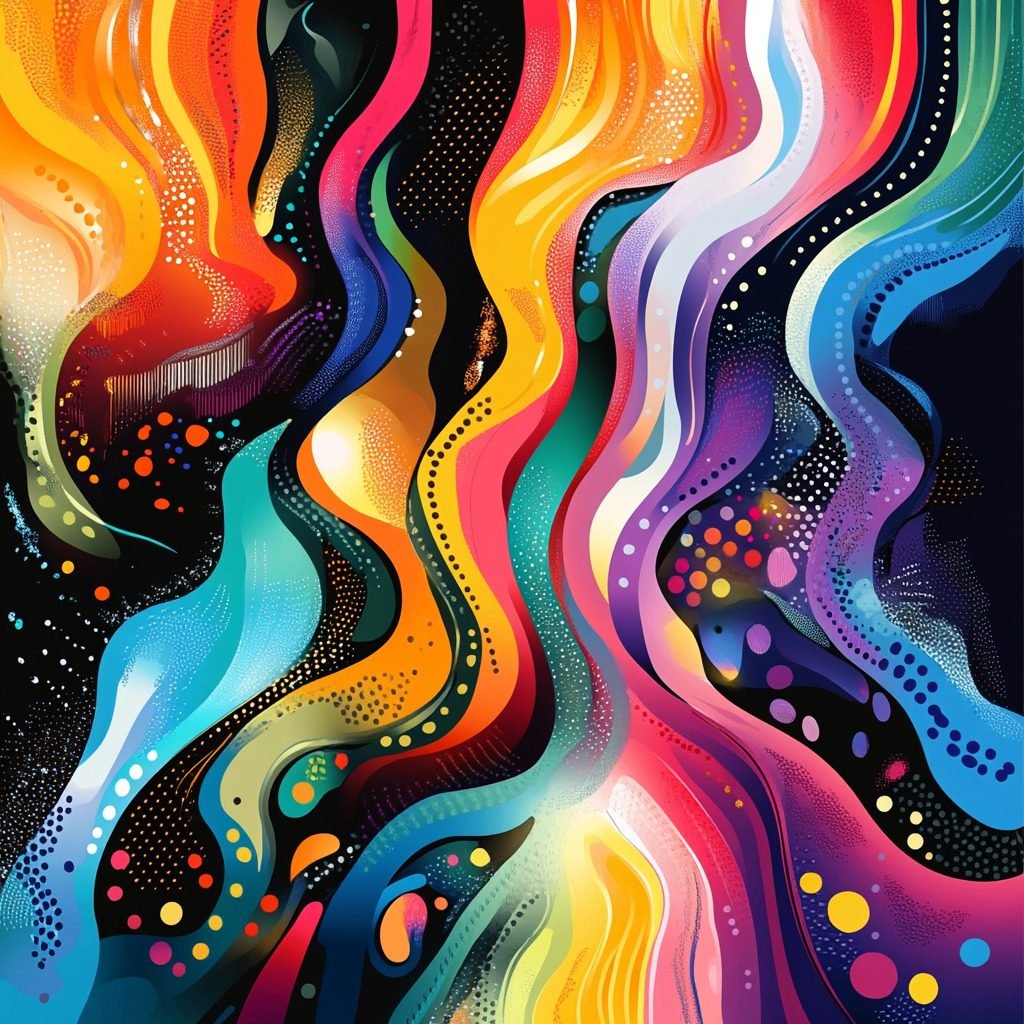
- Abstract: Feeling bold? Let loose with shapes, colors, and textures for something totally unique.
Trying out different styles is such a game-changer! Seriously, it’s one of the best ways to level up your creative skills and figure out what really clicks with your vision. Plus, let’s be real—experimenting is half the fun, right? Next up, I’ll be sharing some beginner-friendly tips to get you started with creating AI clipart. Trust me, once you dive into the world of Midjourney Art, you’ll be hooked!


Tips for Beginners
Getting started with Midjourney Art is such a fun ride, especially if you’re just diving in! Here are a few tips to help you feel like a total pro in no time:
Start small
Keep it simple when you’re new. Basic prompts are your besties while you figure out how Midjourney reads your ideas. Once you’re comfy, you can totally level up with more detailed prompts and over time you will find what works for you.
Use references
Got a specific vibe or look in your head? Pop in a reference image to steer the AI in the right direction. It’s like giving it a mood board to work from.
Tweak those settings
Don’t be afraid to mess around with settings like aspect ratios or focal points. Tiny changes can completely flip the vibe of your Midjourney Art. Need help? The Midjourney guide is a lifesaver!
Lean on the community
Seriously, the Midjourney community is gold. Share your creations, ask for tips, and soak up all the inspo from other creators. You can also explore this by searching for what you are trying to create and see how others have structured their prompts to achieve that art style. Be original know, draw from others but don’t straight up copy!
Practice makes magic
The more you play, the better you’ll get at writing killer prompts. It’s all about trial and error, so don’t stress if things don’t come out perfect at first.
Stay organized
Trust me on this—keep track of your fave prompts and settings. I swear by my spreadsheet where I stash all my go-to prompts for easy reuse. Saves so much time!
Let the AI surprise you
Give clear directions but leave a little wiggle room for creativity. Sometimes the unexpected results end up being total masterpieces. You can use the styalize function for this.
Keep refining
Don’t just stop at the first result. Run your prompts a few more times, tweak them, and see what magic happens. It’s all about playing around until it clicks.
With these tips, you’ll be cranking out gorgeous Midjourney Art in no time. And hey, next up, I’ll show you how to sprinkle in some dreamy watercolor effects to take your creations to the next level!
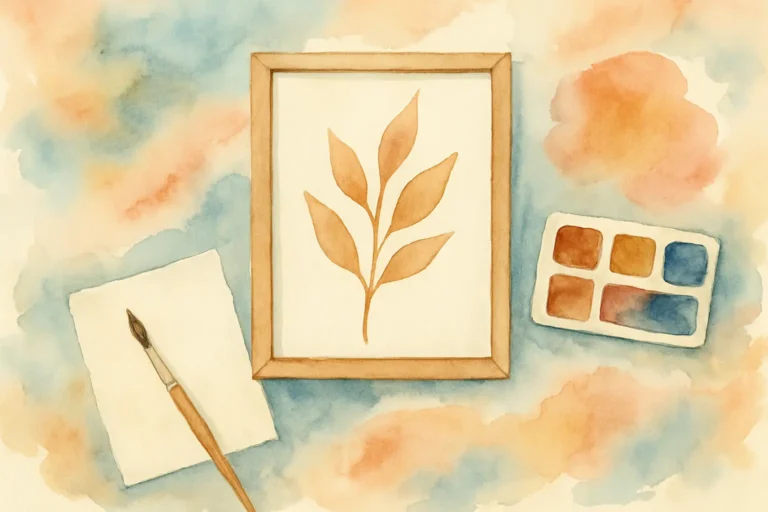
Incorporating Watercolor Effects in Your AI Art
Watercolor effects are such a game-changer when it comes to AI art. They just bring this dreamy, soft vibe that’s perfect for so many projects. And honestly, watercolor-style clipart is an absolute bestseller on Etsy—I mean, most of my shop is watercolor-based for a reason! If you’re diving into Midjourney Art and want to nail that watercolor look, here’s how to make it happen:
Be Specific with Prompts
When you’re crafting prompts, throw in words like “watercolor” or “soft brush strokes.” It’s like giving the AI a little nudge in the right direction for those fluid, artsy vibes.
Master the Color Blending
The magic of watercolor is all in those smooth color transitions. Use prompts that talk about gradients or soft blending—it’s how you get that seamless, flowy feel.
Add Light & Texture
Want your art to feel extra real? Add details like “light washes” or “textured paper” to your prompts. It gives your designs that authentic watercolor depth everyone loves.
Try New Subjects
Watercolor works for everything. Florals, dreamy landscapes, animals—you name it, it’ll look stunning. Experiment with different themes and see what fits your style.
Aspect Ratios Matter
If you’re making something for a specific format, like clipart or templates, tweak the aspect ratio.
Polish It Up
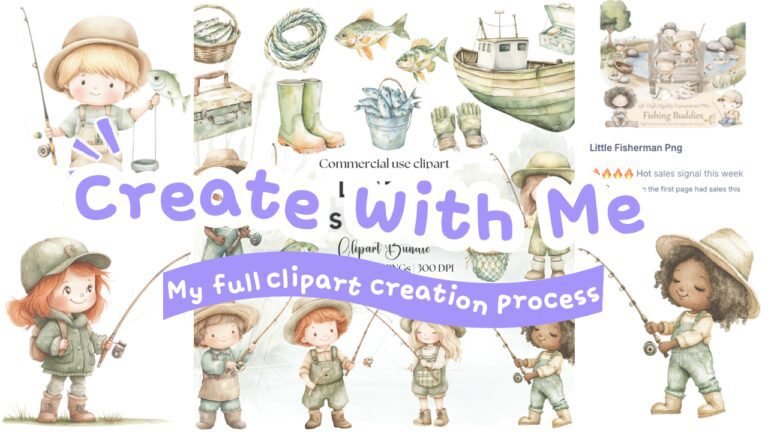
After you’ve got your art, pop it into Photoshop (or whatever you use) for those final tweaks. Adjust the brightness, play with contrast, and really make those watercolor details pop. More details on the actual process your clipart creations to become commercial use ready below!
Post-Processing Your AI Art
So, you’ve made some killer Midjourney art, and now you’re ready to polish it up and make it shine! Here’s how to give your creations that extra wow factor:
Upscale Your Images
Okay, first things first—upscale those beauties! Tools like Topaz AI or Gigapixel are game-changers. They keep your art crisp and high-quality, even when you blow it up. Perfect for prints or detailed digital projects.
Clean Up the Background
Need a clean, pro look? Use something like Pixelcut to nix any backgrounds. Seriously, it’s a lifesaver for clipart that’ll be layered into other designs.
Make It Print-Ready
If you’re planning to print, you have to bump it up to 300 DPI. Use Photoshop or Photopea (they’re both great) to sharpen things up and make sure your Midjourney art looks flawless IRL.
Play With Colors
This is the fun part—tweak those colors until they’re exactly how you imagined. Brightness, contrast, saturation… go wild! It’s amazing how a few adjustments can totally level up your art.
Add Those Final Touches
Time for the little details that make a big difference. Smooth out edges, enhance textures, or add any finishing elements. Photoshop is perfect for this, but use whatever you’re comfy with.
Save Like a Pro
Save your work in the right format! PNG is ideal for transparent backgrounds (hello, clipart), and JPEG works great for things like digital papers. Pro tip: store everything in Google Drive or Dropbox so your files are always handy.
Batch Process Like a Boss
Got a ton of images? Use batch processing tools in Photoshop to handle things like DPI adjustments or file conversions all at once. Trust me, it’ll save you hours.
And that’s it! With these tips, your Midjourney art will go from cool to absolutely jaw-dropping. Let those creative vibes flow! 😎
Post-processing is an essential step in ensuring your AI art looks polished and professional. Check out my blog post for an insight into my creation process.
In the next section, we’ll discuss how to monetize your clipart by selling on platforms like Etsy.
Monetizing Your Clipart: Selling on Etsy
Selling your AI clipart on Etsy is such a fun way to turn your creativity into cash, and honestly, Etsy makes it pretty easy to get started. Here’s the lowdown on how to make it happen:
1. Set Up Your Etsy Shop
First things first—create an Etsy account and set up your shop. Pick a name that feels so you and matches the vibe of your Midjourney art. Something catchy and memorable works wonders!
2. Make Your Listings Pop
Your clipart deserves to shine, so don’t skimp on your listings. Use clean, high-quality mockups (Canva is a lifesaver for this) and write descriptions that actually explain why your designs are awesome. Think about all the ways someone could use your clipart—wedding invitations, party printables, digital scrapbooking—you get the idea!
3. Be an SEO Ninja
SEO sounds fancy, but it’s just about using the right keywords so people can find you. Sprinkle in terms like “Midjourney art” (because that’s where the magic happens!) in your titles, descriptions, and tags. Pro tip: Tools like Alura or Insight Factory are gold for finding the best keywords.
4. Price Smart, Not Cheap
Don’t sell yourself short. Check out what other sellers are charging and aim for that sweet mid-range pricing. Bundles and discounts? Yes, please! But remember, low prices can scream “low quality,” and your art is so much better than that.
5. Shout It Out on Social Media
Pinterest is your BFF here. It’s basically a visual search engine, so share your designs, make eye-catching pins, and link them back to your shop. Trust me, it’s a game-changer for getting traffic to your store.
6. Be a Customer Service Rockstar
Quick replies and friendly vibes go a long way. Happy customers leave glowing reviews, and those reviews? They’re like gold on Etsy.
7. Keep Tweaking Your Strategy
Etsy gives you all kinds of analytics to see what’s working and what’s not. Use that info to tweak your listings, try new ideas, and keep leveling up.
Selling your Midjourney art on Etsy is all about putting your creative energy into the world and connecting with people who love what you make. You’ve got this! 😎
Check out my blog series on launching my new tumblers store, I spill all the tea on how to set up and run a successful Etsy store.
Your Next Steps in the AI Art Journey
Yay, you’ve taken the first step into the amazing world of Midjourney Art—how exciting is that?! Seriously, it’s such a fun ride, and trust me, the process of creating is just as magical as the final piece.
So, here’s the deal: keep playing around with different prompts and styles. Don’t overthink it—just dive in and see what happens. The more you experiment, the more you’ll find your groove and start building your own unique vibe. That’s the beauty of Midjourney—it’s all about letting your creativity run wild.
Oh, and don’t forget to check out the Midjourney community. There’s so much inspiration there, and honestly, sharing your work and seeing what others are doing can spark all kinds of new ideas. Plus, it’s always fun to geek out with people who get it, right?
Once you’re feeling confident, why not think about turning your art into a little side hustle? Etsy, anyone? Or maybe something else that fits your style. There’s no limit to what you can do with this—it’s all about taking that creativity and running with it.
Oh, and heads up—I’ve got some awesome resources coming your way soon, including a course that really helped me when I was starting out, plus a membership packed with goodies to keep the inspiration flowing.
Thanks for hanging out with me on this creative adventure. Now go make something amazing! You’ve got this.
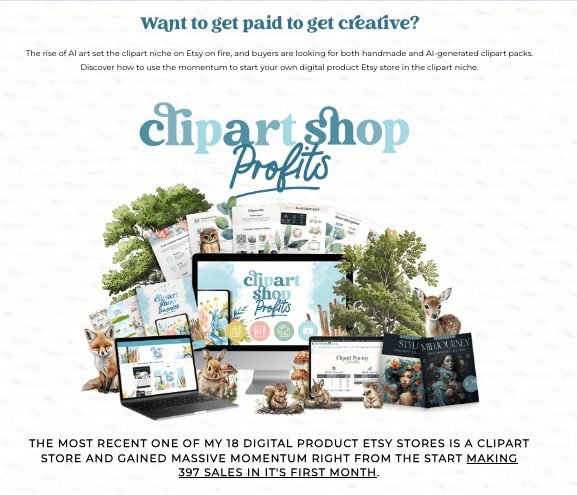
Special Offer: Clipart Shop Profits Course
If you’re eager to dive deeper into the world of selling clipart, the Clipart Shop Profits Course by Jessa Bellman is a fantastic resource. It’s the course that got me started, and it’s packed with valuable insights and strategies. For only $9, you can learn how to effectively market and sell your creations. Check out the course here and take your clipart business to the next level.
Explore the Template Creators Society Membership
For those looking to expand their skills beyond clipart, the Template Creators Society Membership offers incredible value. For just $7 per month, you gain access to a range of digital product courses, including the Clipart Shop Profits Course. It’s a treasure trove of resources for any digital entrepreneur. Learn more about the membership here and unlock your creative potential.

Further Reading: My Journey in Selling Clipart on Etsy
Curious about how I got started with selling clipart on Etsy? I’ve shared my story and some helpful tips in a detailed blog post. If you’re interested in learning more about my journey, you can read about it here.