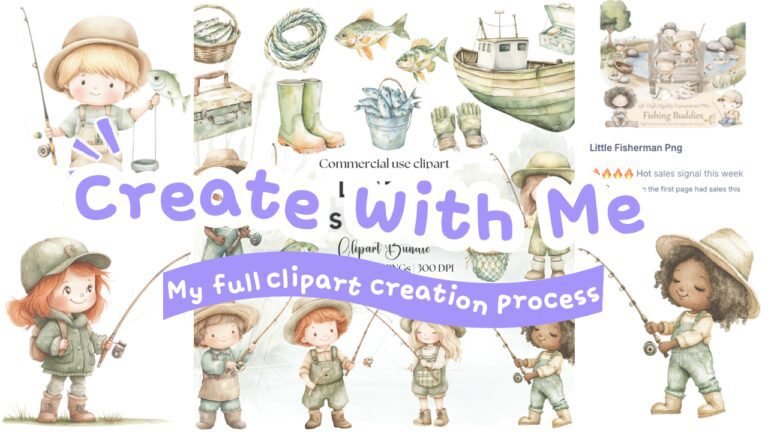
How to make and sell clipart: Unveiling the magic

Intro
Making clipart and turning it into a money-maker? Pure magic, my friend. In this guide, How to Make and Sell Clipart: Unveiling the Magic, we’re diving into the nitty-gritty of creating awesome designs and building a digital biz around them. Whether you’re an artist ready to cash in on your talent or a total newbie curious about jumping into digital art, this is your sign to go for it. Trust me, it’s easier (and way more fun) than you think. Ready to see what all the fuss is about? Let’s gooo!
1. The Art of Inspiration: Finding the Spark
Every great creation starts with a little spark of inspiration, right?
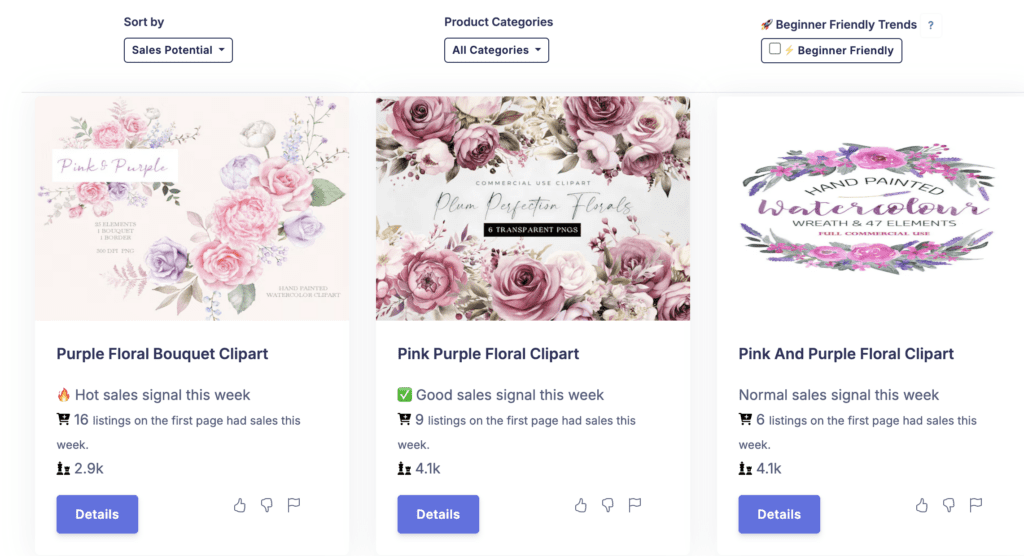
Same goes for making clipart to sell! Honestly, finding ideas feels like a treasure hunt—minus the shovels and dirt, plus a lot of scrolling.
My go-to spot? Insight Factory. It’s basically Pinterest for digital product trends, and I’m obsessed.
From dreamy wedding vibes to party-perfect themes, there’s always something that grabs my attention. Once I lock onto a trend that feels just right, I dive in and create a pack of my own. No magic wand needed, promise!
2. Crafting the Perfect Prompt
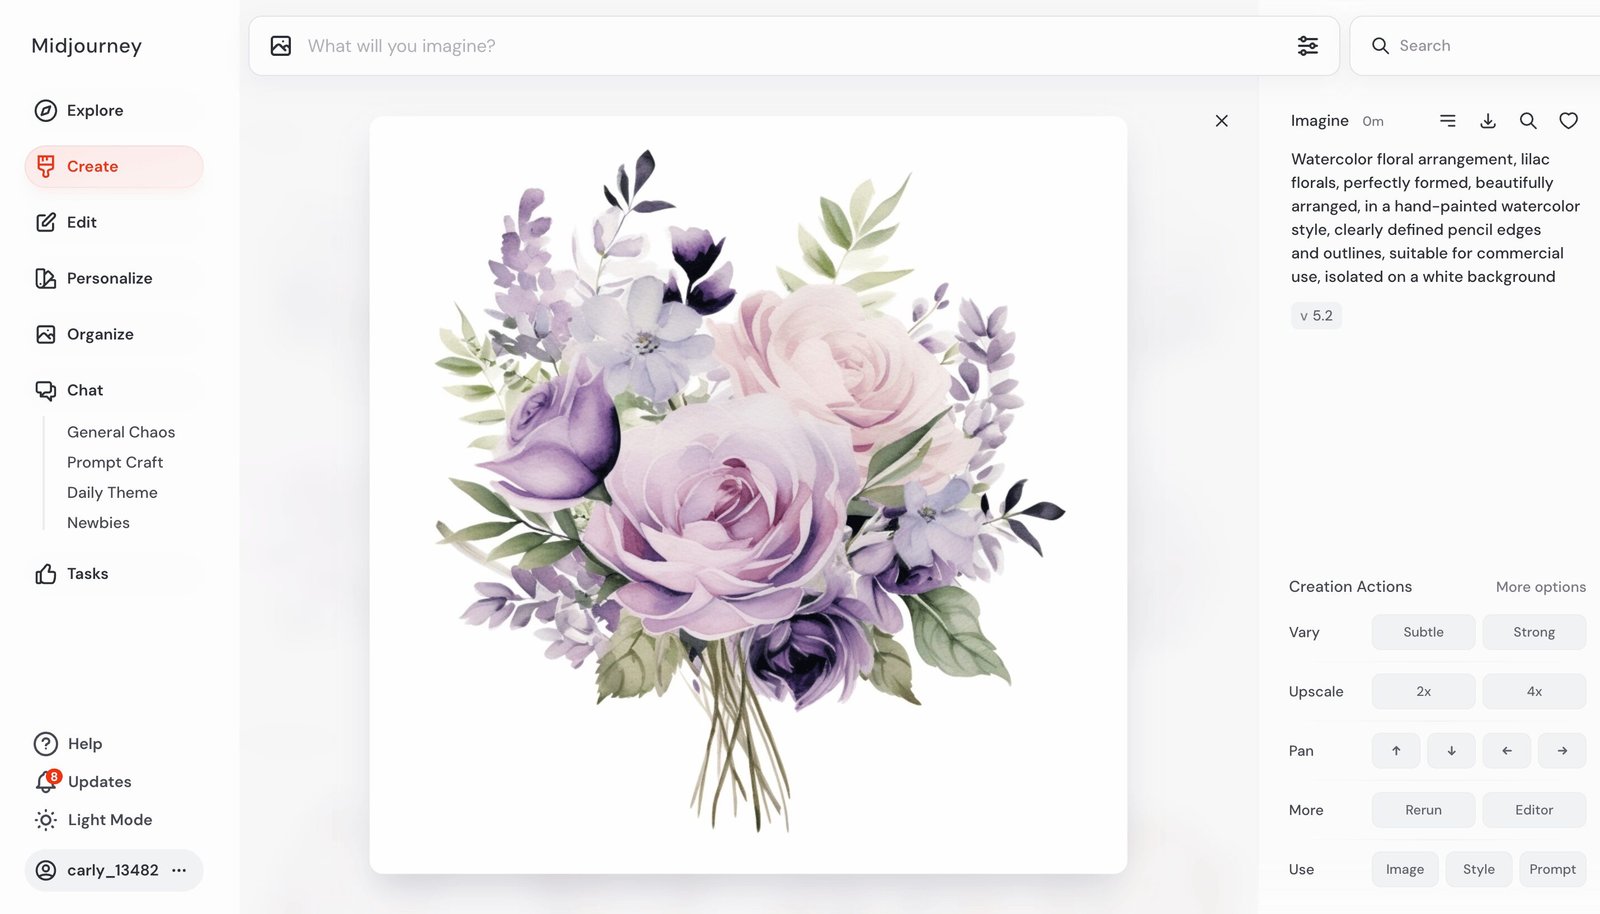
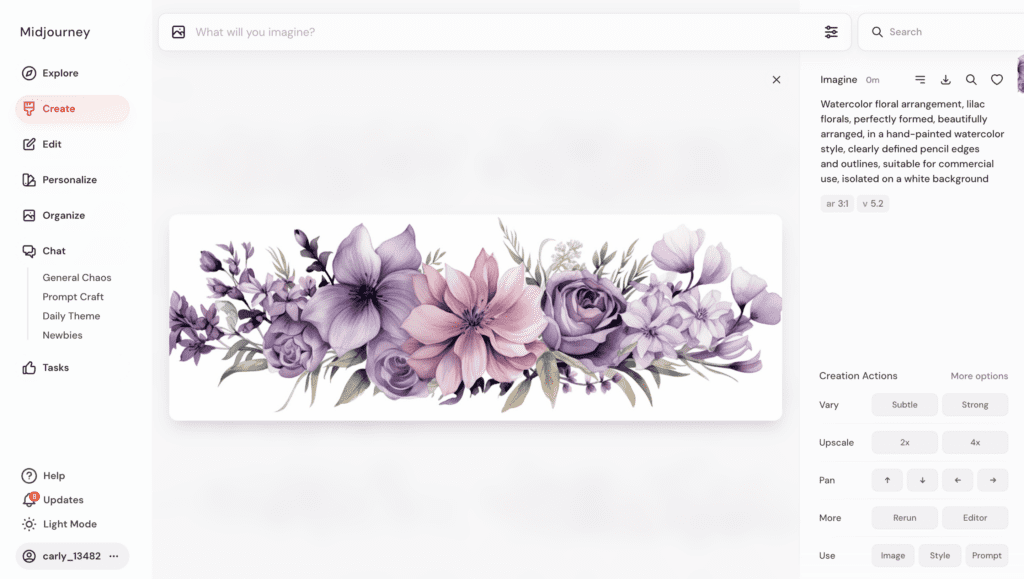
Alright, so next up in the clipart process, it’s time to whip up the perfect prompt—basically my magic formula! I’ve got this down to an art with Midjourney.
For those dreamy watercolor florals, I’ll usually go with something like: “Watercolor floral arrangement, lilac florals, perfectly formed, beautifully arranged, in a hand-painted watercolor style, clearly defined pencil edges and outlines, suitable for commercial use, isolated on a white background.”
Yeah, it’s a bit of a mouthful, but trust me, it’s gold. Version 5.2 is my ride-or-die for watercolor vibes.
I just swap out “lilac florals” for whatever flower I’m feeling that day, and boom—magic!
Check out my post on creating clipart for the wedding niche here for more about my favourite clipart to create – beautiful colourful florals.
3. Aspect Ratios and Arrangements: The Shape of Things
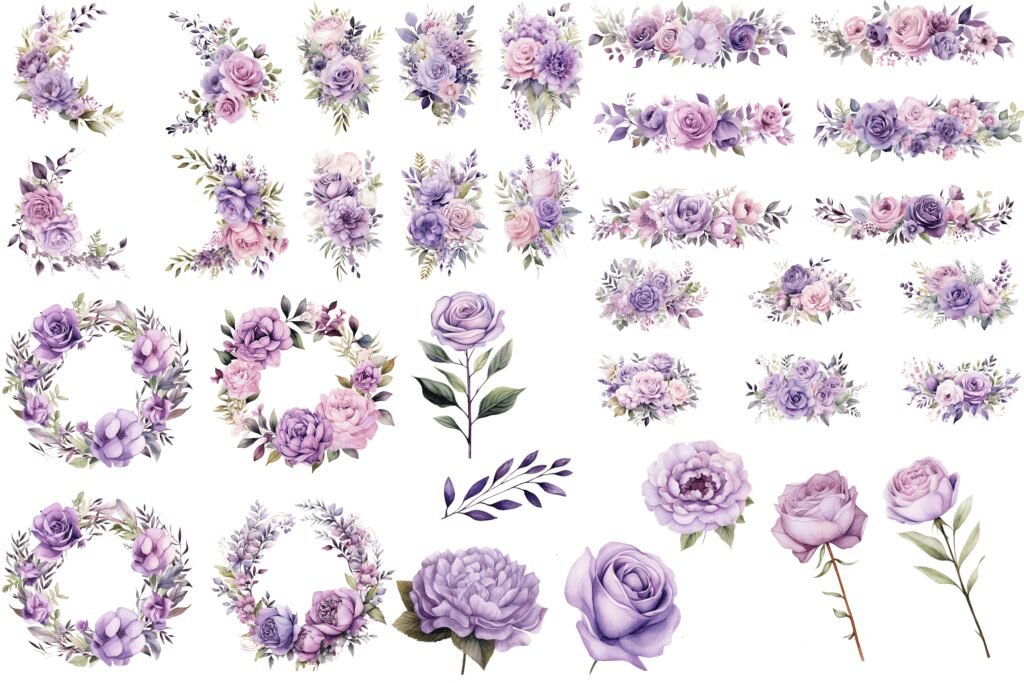
Once I’ve got my prompt all set, I mess around with aspect ratios and floral layouts—it’s honestly like making a bouquet, but without the allergies.
The trick to absolutely stunning floral clipart packs?
Having a go-to formula for the shapes in every pack so there’s something for everyone.
The magic touch? Variety, baby!
Tweaking those aspect ratios lets me whip up different shapes and arrangements, and every pack ends up looking chef’s kiss.
It’s all about finding that perfect balance, you know?
4. Color Coordination: Match Made in Clipart Heaven
Alright, so once I’ve got my shapes sorted, it’s all about making sure my clipart vibes together like the perfect playlist.
I stick to images with similar colors—gotta keep that pack looking tight, right?
Nobody’s here for an absolute mismatch of colours when they intend to craft beautiful wedding invitations with these flowers!
Once I’ve downloaded my picks, I give them a good once-over, ditching anything that feels off -I’m an apple girl so the contact sheet function for viewing images on my Macbook is my best friend here.
By the end, I’ve got this gorgeous set of 30-35 images that’s basically art-goals.
But that’s not it yet, these flowers are not yet wedding ready!
5. The Upscaling Adventure: Bigger and Better
Once my images are ready to shine, it’s makeover time!
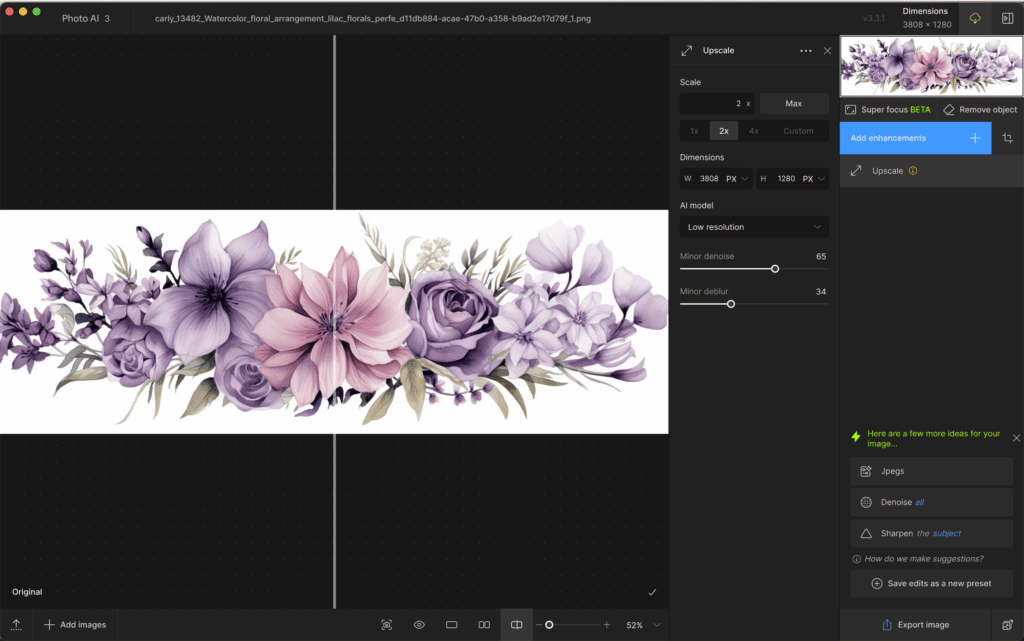
That’s where Topaz AI swoops in—my go-to for upscaling magic. Seriously, this tool takes my designs and levels them up like they’re slipping into a pair of killer heels (minus the painful blisters).
Total game-changer and available at a super reasonable one off cost too! Being able to batch upscale my images is a huge time saver!
We are all about efficiency over here. I work full time, run my business and i’m a mum and wife too, any tool that saves me time is a winner for me!
6. Background Banishing
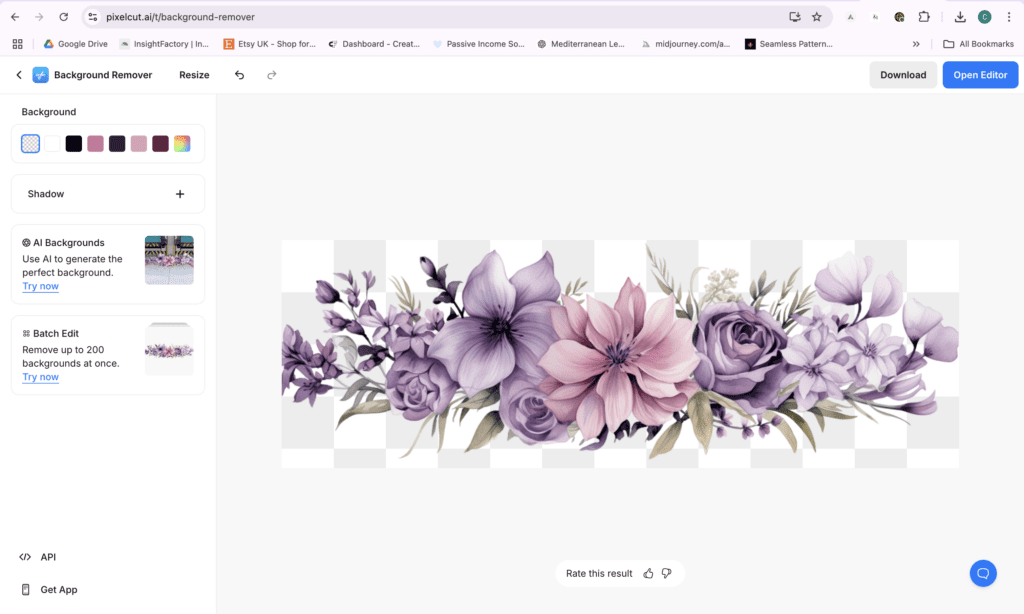
Once I’ve got my clipart all upscaled and looking gorgeous, it’s time for the real fun to begin. I fire up Pixelcut to strip away those pesky backgrounds, and let me tell you, it’s so satisfying—like peeling back an onion, but without the tears. Once the backgrounds are gone, the clipart is ready to shine like the star it is.
But listen, not all background removers are created equal. Trust me, I’ve tested everything.
Pixelcut is hands-down my favorite, especially for those tricky watercolour designs. Other tools? Ugh, they end up chopping off bits of your image like some kind of overzealous haircut. No thanks!
7. Photoshop Perfection: The Final Touches
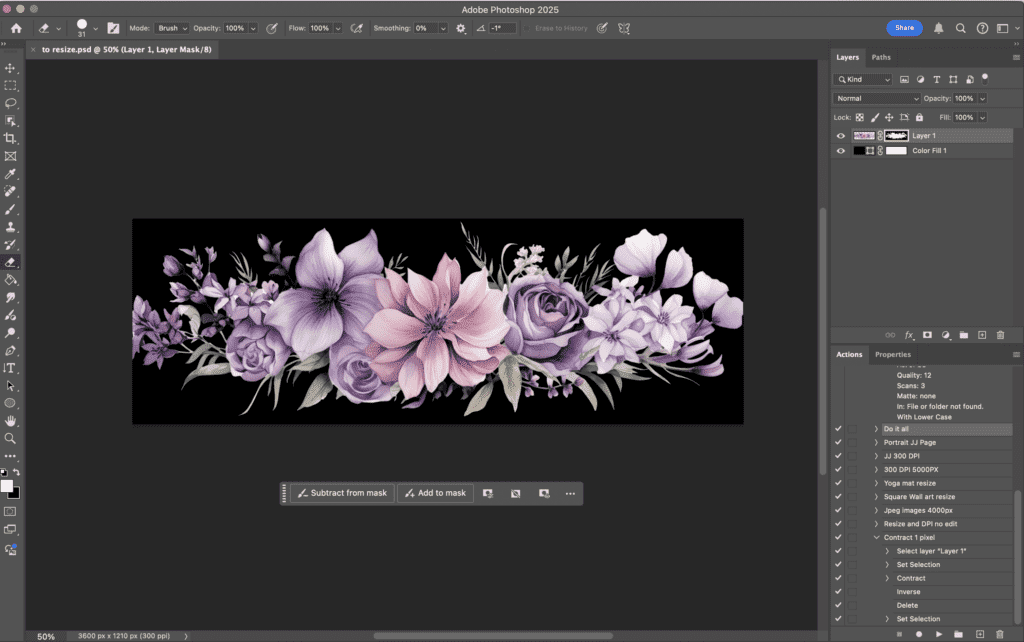
The last step in making my clipart is where the magic happens—Adobe Photoshop! This is where I tweak the size (3600px on the longest side is the standard I use), crank the DPI up to a sharp 300, and sprinkle on those final touches.
Gotta make sure there aren’t any sneaky halo edges or weird borders hanging around from the background remover. Every single pixel gets pampered so the clipart is absolutely perfect and ready to slay.
I use a graphics tablet for the final touchups – this is the one I have in case you’re interested and I LOVE it!
8. Etsy Listings: The Grand Finale
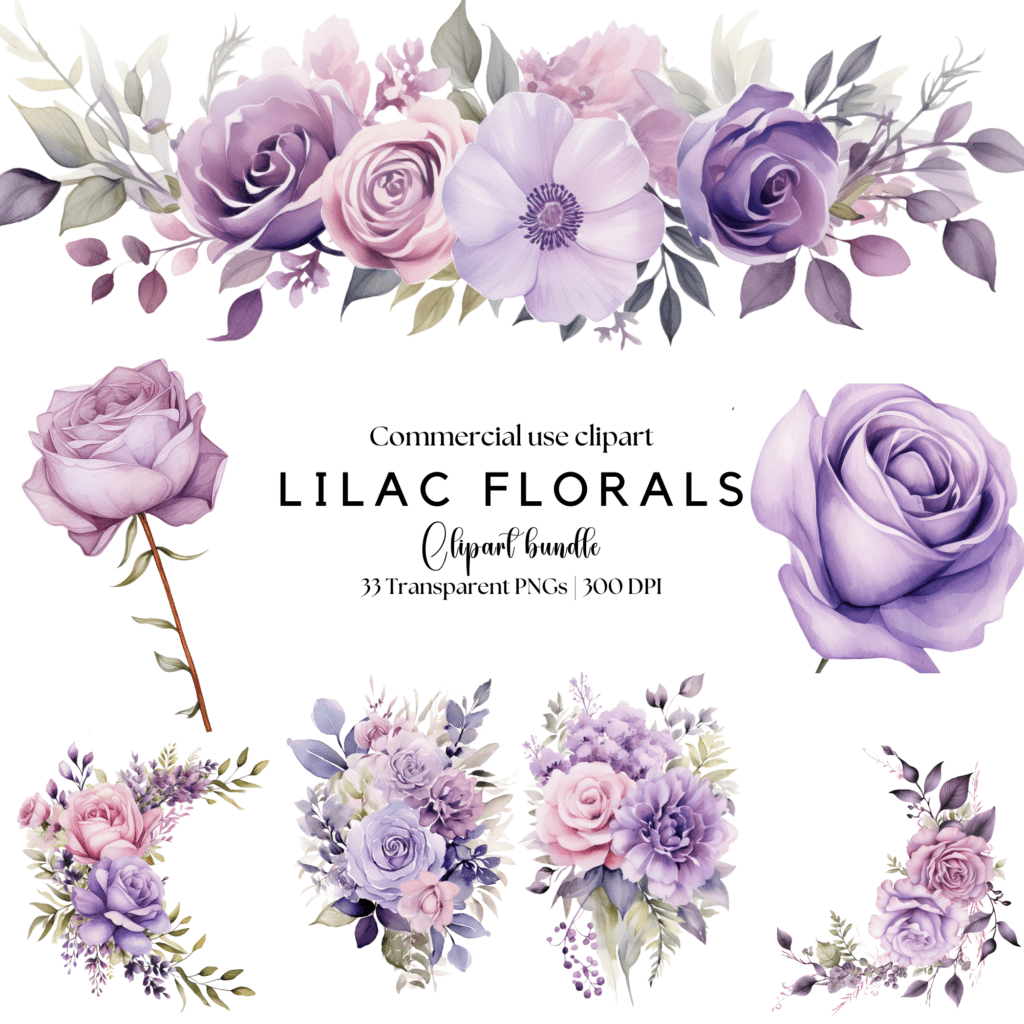
Alright, so picture this—I’ve got my clipart all ready to go, and now it’s time to make it shine on Etsy.
I jump into Canva and start piecing together the perfect listing visuals, making sure everything looks chef’s kiss.
Once that’s done, I save it to my drafts, just waiting for its big debut. Honestly, it feels like setting up a stage for the main event, where my clipart gets to be the star of the show. So satisfying!
9. From Pixels to Pins: Marketing Magic
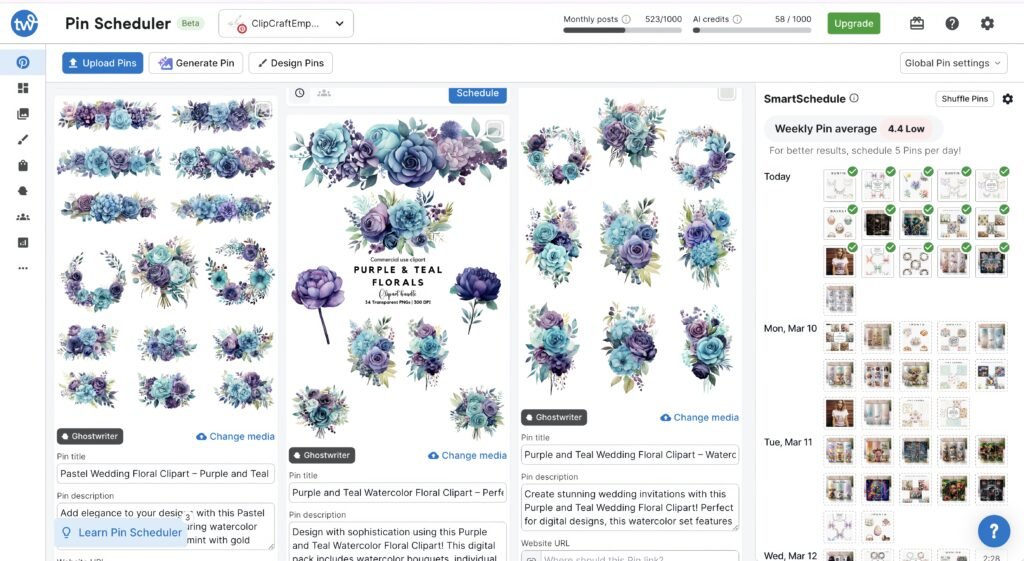
Got my clipart all shiny and ready to go, so now it’s showtime! I whip up Pinterest pins to get my designs in front of every party planner and wedding lover out there—it’s like matchmaking but for clipart. Check out the clip craft emporium pinterest right here.
Oh, and let me tell you about my secret weapon: Tailwind.
This baby is an absolute lifesaver. Seriously, it’s like having a personal assistant who never drops the ball. Obsessed.
It sets up a schedule with perfect timeslots for my audience and keeps pinning while I’m off in dreamland. How cool is that?!
10. The Clipart Journey: A Story of Pixels and Passion
And that’s it! My little world of clipart magic—from the first spark of an idea to the finished piece. It’s all about creativity, color, and honestly, just having a bit of fun with it.
For me it’s an absolute outlet to destress from the high powered day job and the fact that it also brings a lovely income to my family is epic too!
Whether you’re diving into digital art yourself or just here to check it all out, I hope you’ve loved this behind-the-scenes peek.
Every single design has its own story, and honestly, it’s so cool knowing these little creations can become part of someone else’s project or even feature as part of someone’s big wedding day!!
So, go on—get creative and let your ideas run wild!
If you’re interested to know a little more about my journey into becoming a clipart store owner, check out this post.
Special Offer: Clipart Shop Profits Course
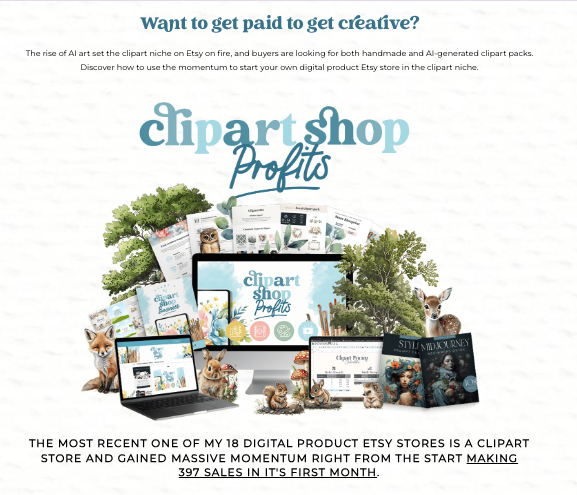
If you’re eager to dive deeper into the world of selling clipart, the Clipart Shop Profits Course by Jessa Bellman is a fantastic resource. It’s the course that got me started, and it’s packed with valuable insights and strategies. For only $9, you can learn how to effectively market and sell your creations. Check out the course here and take your clipart business to the next level.
This post may contain affiliate links, meaning I could earn a small commission at no extra cost to you. For more details, please check out my full disclosure policy.
Explore the Magic of Clip Craft Emporium
You’ve got to check out our clipart —it’s like a treasure trove of creative magic! Perfect for wedding invites, party printables, or just adding that extra bit of flair to whatever you’re working on. Oh, and the Clipart Vault? Total game-changer. It’s a lifetime all-access pass to every single clipart we’ve got and anything we add in the future—all for a one-time fee. Seriously, it’s amazing and we have poured our heart and soul into it. Go have a snoop—you’re gonna love it!
