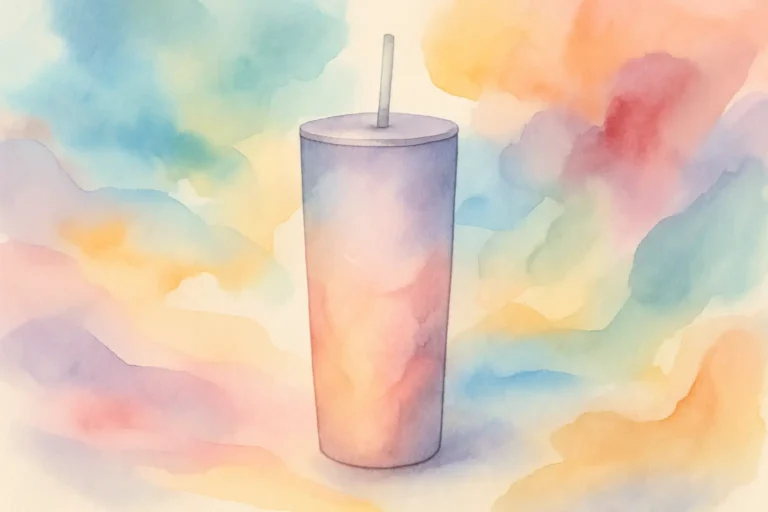
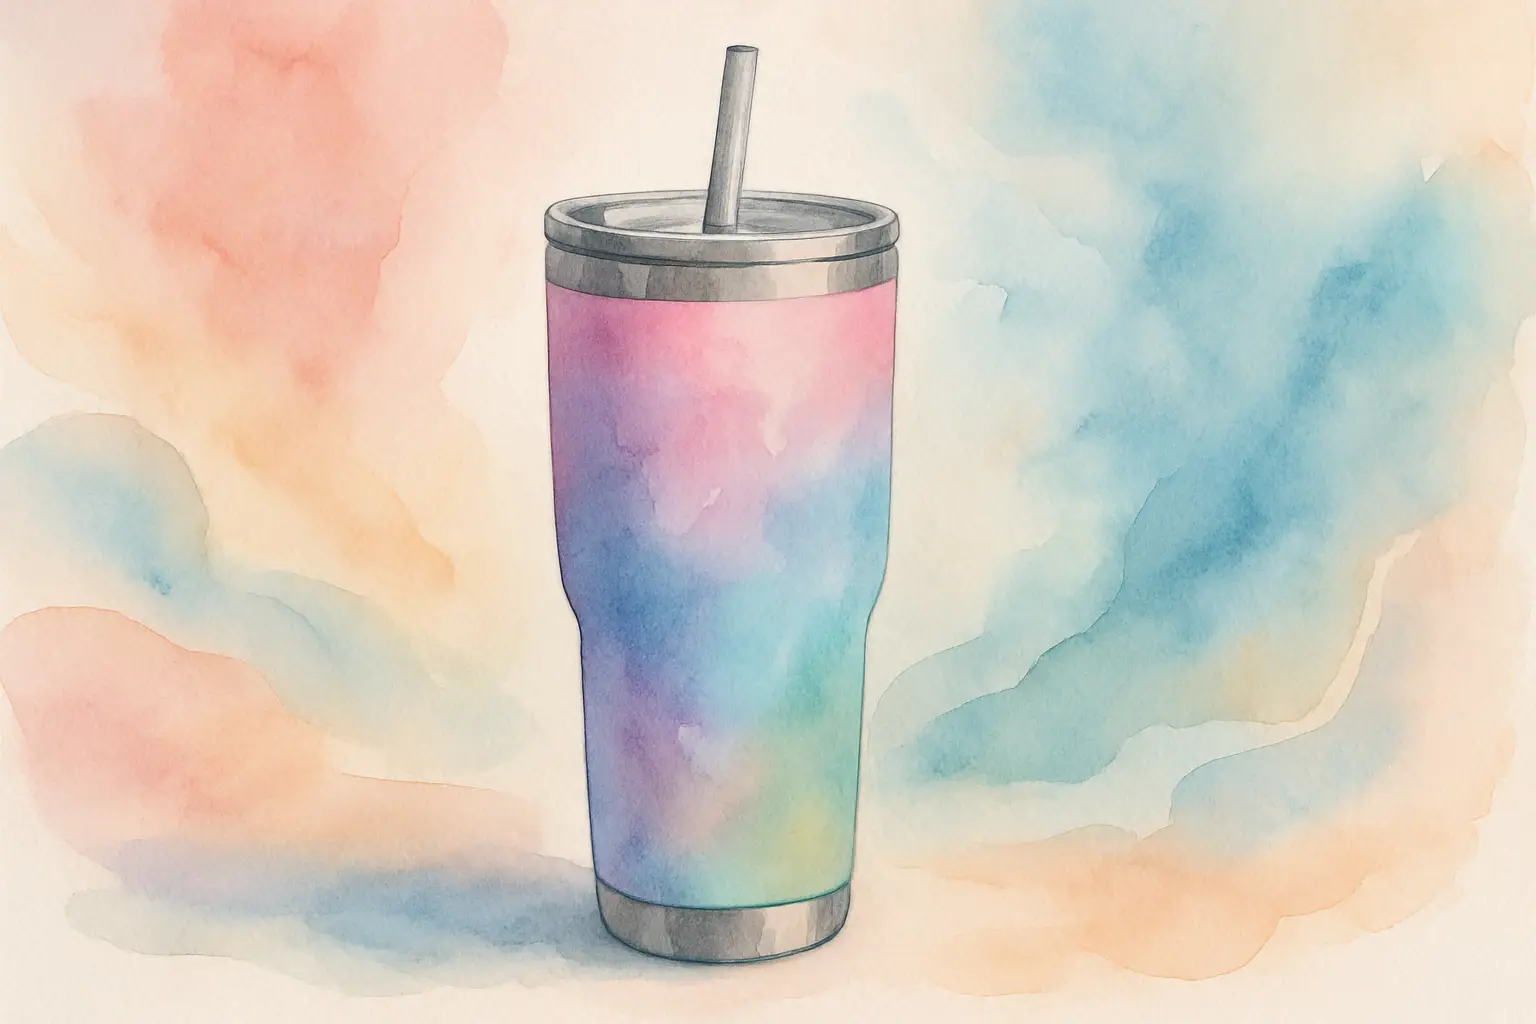
40oz Tumbler Wrap PNG: Make It Fit First Time
You know that moment when you peel back the tape after pressing a big 40oz tumbler and the design is nearly perfect… except the seam doesn’t meet, or the bottom edge has a pale band? A 40oz is a brilliant product to sell because it feels premium, but it’s also less forgiving than a 20oz. That’s why getting your 40oz tumbler wrap png set up properly matters – not in a fussy, perfectionist way, but in a “busy maker who needs this to work first time” way.
What a 40oz tumbler wrap PNG actually is
A 40oz tumbler wrap PNG is a full-coverage, print-ready design file created to wrap around the outside of a 40oz tumbler for sublimation (and sometimes for waterslide or other wrap-based methods). The “PNG” part matters because it’s typically a high-resolution image with a transparent background when needed, and it holds clean edges and crisp detail when printed correctly.
In practice, you’re using it like a sleeve: print the artwork, wrap it tightly around the tumbler blank, tape it, and press or bake so the ink gasses into the coating. When the sizing is right, the artwork meets neatly at the seam, key elements sit where you intended, and the colours stay sharp.
Why 40oz sizing is trickier than smaller tumblers
A lot of makers assume “40oz” is a universal measurement. It isn’t. Two 40oz tumblers can have different circumferences, different straight-wall heights, a taper, a handle, or a silicone base that changes how low you can wrap.
The main complication is that most 40oz designs are taller and wider than 20oz wraps, which means printing pushes the limits of your paper size and your printer’s margins. You’ll also notice that any tiny scaling mistake becomes obvious over a longer seam. A 1-2 mm gap on a short wrap can hide in the curve; on a 40oz it reads as a whole white stripe.
So the goal isn’t just “use a 40oz file”. It’s “use a 40oz file, then confirm it matches your specific blank before you commit ink and time”.
The measurements that matter (and how to get them quickly)
You don’t need a fancy jig to measure a tumbler. You just need consistency.
First, measure circumference. Wrap a flexible measuring tape around the widest part of the area you’ll sublimate, keeping it level. If you don’t have a flexible tape, wrap a strip of paper around, mark where it overlaps, then measure the strip with a ruler.
Then measure height. Decide how close to the top rim and bottom you want the design to go. If your blank has a taper or a curve, measure the straight usable area, not the absolute tallest point.
Here’s the trade-off: if you design for full-bleed coverage, you’ll want a tiny bit of extra width and height (bleed) so there’s no white showing if your wrap shifts. But too much extra width makes seams bulky and can create ghosting where paper overlaps.
Setting up your 40oz tumbler wrap PNG for printing
Most 40oz wraps are supplied at a high resolution, but your software can still shrink or stretch them without you realising. The biggest time-saver is to choose one workflow and stick with it.
If you work in a design program (like Canva, Photoshop, Affinity, Silhouette Studio, or Cricut Design Space), set your canvas to match your target print size in inches, then place the PNG at 100% if it’s already sized, or scale it to your measured width and height if it’s a universal file.
Be careful with “fit to page”. That single setting is responsible for so many surprise gaps. You want “actual size” or a controlled scale percentage you’ve chosen on purpose.
Also check print margins. A lot of home printers can’t print borderless at large sizes, and a 40oz wrap can sit right on the edge of what your printer will allow. If you’re printing on A4, you may need to tile the design or use a smaller wrap area. If you’re printing on US Letter, you still need to confirm your maximum printable width.
If you regularly make 40oz tumblers, it’s worth testing one blank with a simple measuring grid wrap – just once – so you know what your printer and press setup can truly handle.
Crisp results: resolution, colour, and paper choices
A PNG can be high quality, but your print settings decide whether it looks professional.
Aim to print at 300 DPI (or use a file supplied at print-ready resolution). If you enlarge a smaller PNG too far, text can look soft and fine line art can break up. For a 40oz tumbler, those details are right in people’s hands and photos.
Colour is the next thing. Sublimation tends to print duller on paper and press brighter on the blank. That’s normal. What you’re watching for is unwanted shifts – greens going muddy, blacks turning brown, skin tones looking orange. If you can, use a consistent ICC profile for your printer and ink set, and keep your paper type consistent so you’re not chasing your tail from batch to batch.
Paper matters more on large wraps. A cheaper paper that works fine on a small mug can show banding or uneven saturation on a big 40oz because there’s simply more area for the flaws to appear. If your wraps sometimes look striped, it may be your printer settings (draft mode is a common culprit), but it can also be paper that can’t hold the ink evenly.
The seam: how to avoid the dreaded white line
Most seam issues come down to one of three things: sizing, wrapping tension, or overlap.
If you have a white line, the wrap is too narrow or it shifted during pressing. Fix it by increasing width slightly (even 2-3 mm can do it) and using firm tape placement at the seam.
If you have a blurry seam, the wrap overlapped and ink double-transferred, or it moved and ghosted. Fix it by reducing width slightly, trimming straighter, and using heat-resistant tape strategically so the paper can’t creep.
If you have a seam that meets but the design doesn’t “line up” (for example, stripes that break), that’s a design placement issue. Some patterns are forgiving, others aren’t. For busy prints, you can often hide the seam visually. For geometrics, you may need to edit the wrap so the pattern is designed to meet.
It depends on what you’re selling, too. If you’re selling premium personalised tumblers, you’ll probably want near-invisible seams. If you’re selling fun seasonal designs at a lower price point, a clean but visible seam may still be perfectly acceptable – as long as it’s not gappy or blurry.
Handles, tapers, and other real-world blank quirks
Many popular 40oz tumblers have handles. That affects where the seam can go and how you tape.
If the handle blocks a full wrap, you may need to place the seam behind the handle and accept a small non-printed area near the attachment points, or use a wrap designed specifically for handled blanks.
Tapered tumblers are another factor. A rectangular wrap assumes straight walls. If your blank narrows towards the base, you’ll either get buckling at the bottom or a gap somewhere. You can sometimes solve this by trimming the wrap into a slight trapezoid shape, but it’s a fiddly job. If you often work with one specific blank style, it’s worth using designs sized and shaped for that exact model.
Selling-ready: make your wrap choices with your listings in mind
If you’re making to sell, a 40oz tumbler isn’t just a craft project – it’s a product line. The wrap style you choose affects how quickly you can produce and how consistent your results are.
All-over patterns are fast because placement is forgiving, and they photograph well from multiple angles. Quote designs and name personalisation look high value, but they require careful positioning so text isn’t split at the seam or hidden by a handle. Niche themes (teachers, bookish, faith, occupations, seasonal) help you stand out because customers buy the message as much as the tumbler itself.
If your goal is calm repeatability, build a small library of wrap styles that press reliably on your chosen blanks, then branch out. When you’re juggling family life and a side hustle, consistency beats constant experimenting.
If you want a single place to browse a wide mix of ready-to-use designs across tumbler sizes and niches, you can find 40oz wraps and matching assets at That Digital Mum.
Quick troubleshooting when something looks “off”
When a 40oz tumbler wrap png doesn’t turn out as expected, start with the simplest check: did it print at the intended size? Measure the printed sheet, not the file on screen.
If the print looks faded, check temperature and time for your press or oven setup and confirm your paper was tight to the blank. If it’s blurry, suspect movement. If parts are patchy, suspect uneven pressure or a wrap that wasn’t fully in contact around a curve.
And if the colours are strange, change one variable at a time – paper, then settings, then profile – otherwise you’ll never know what fixed it.
A 40oz tumbler is a big canvas. Once you’ve got your sizing and print settings dialled in, it becomes one of the most satisfying products to make because it looks like a “proper shop item”, not a homemade experiment. Give yourself permission to run one test wrap, write down what worked, and let that become your new normal – calm, repeatable, and ready to sell.